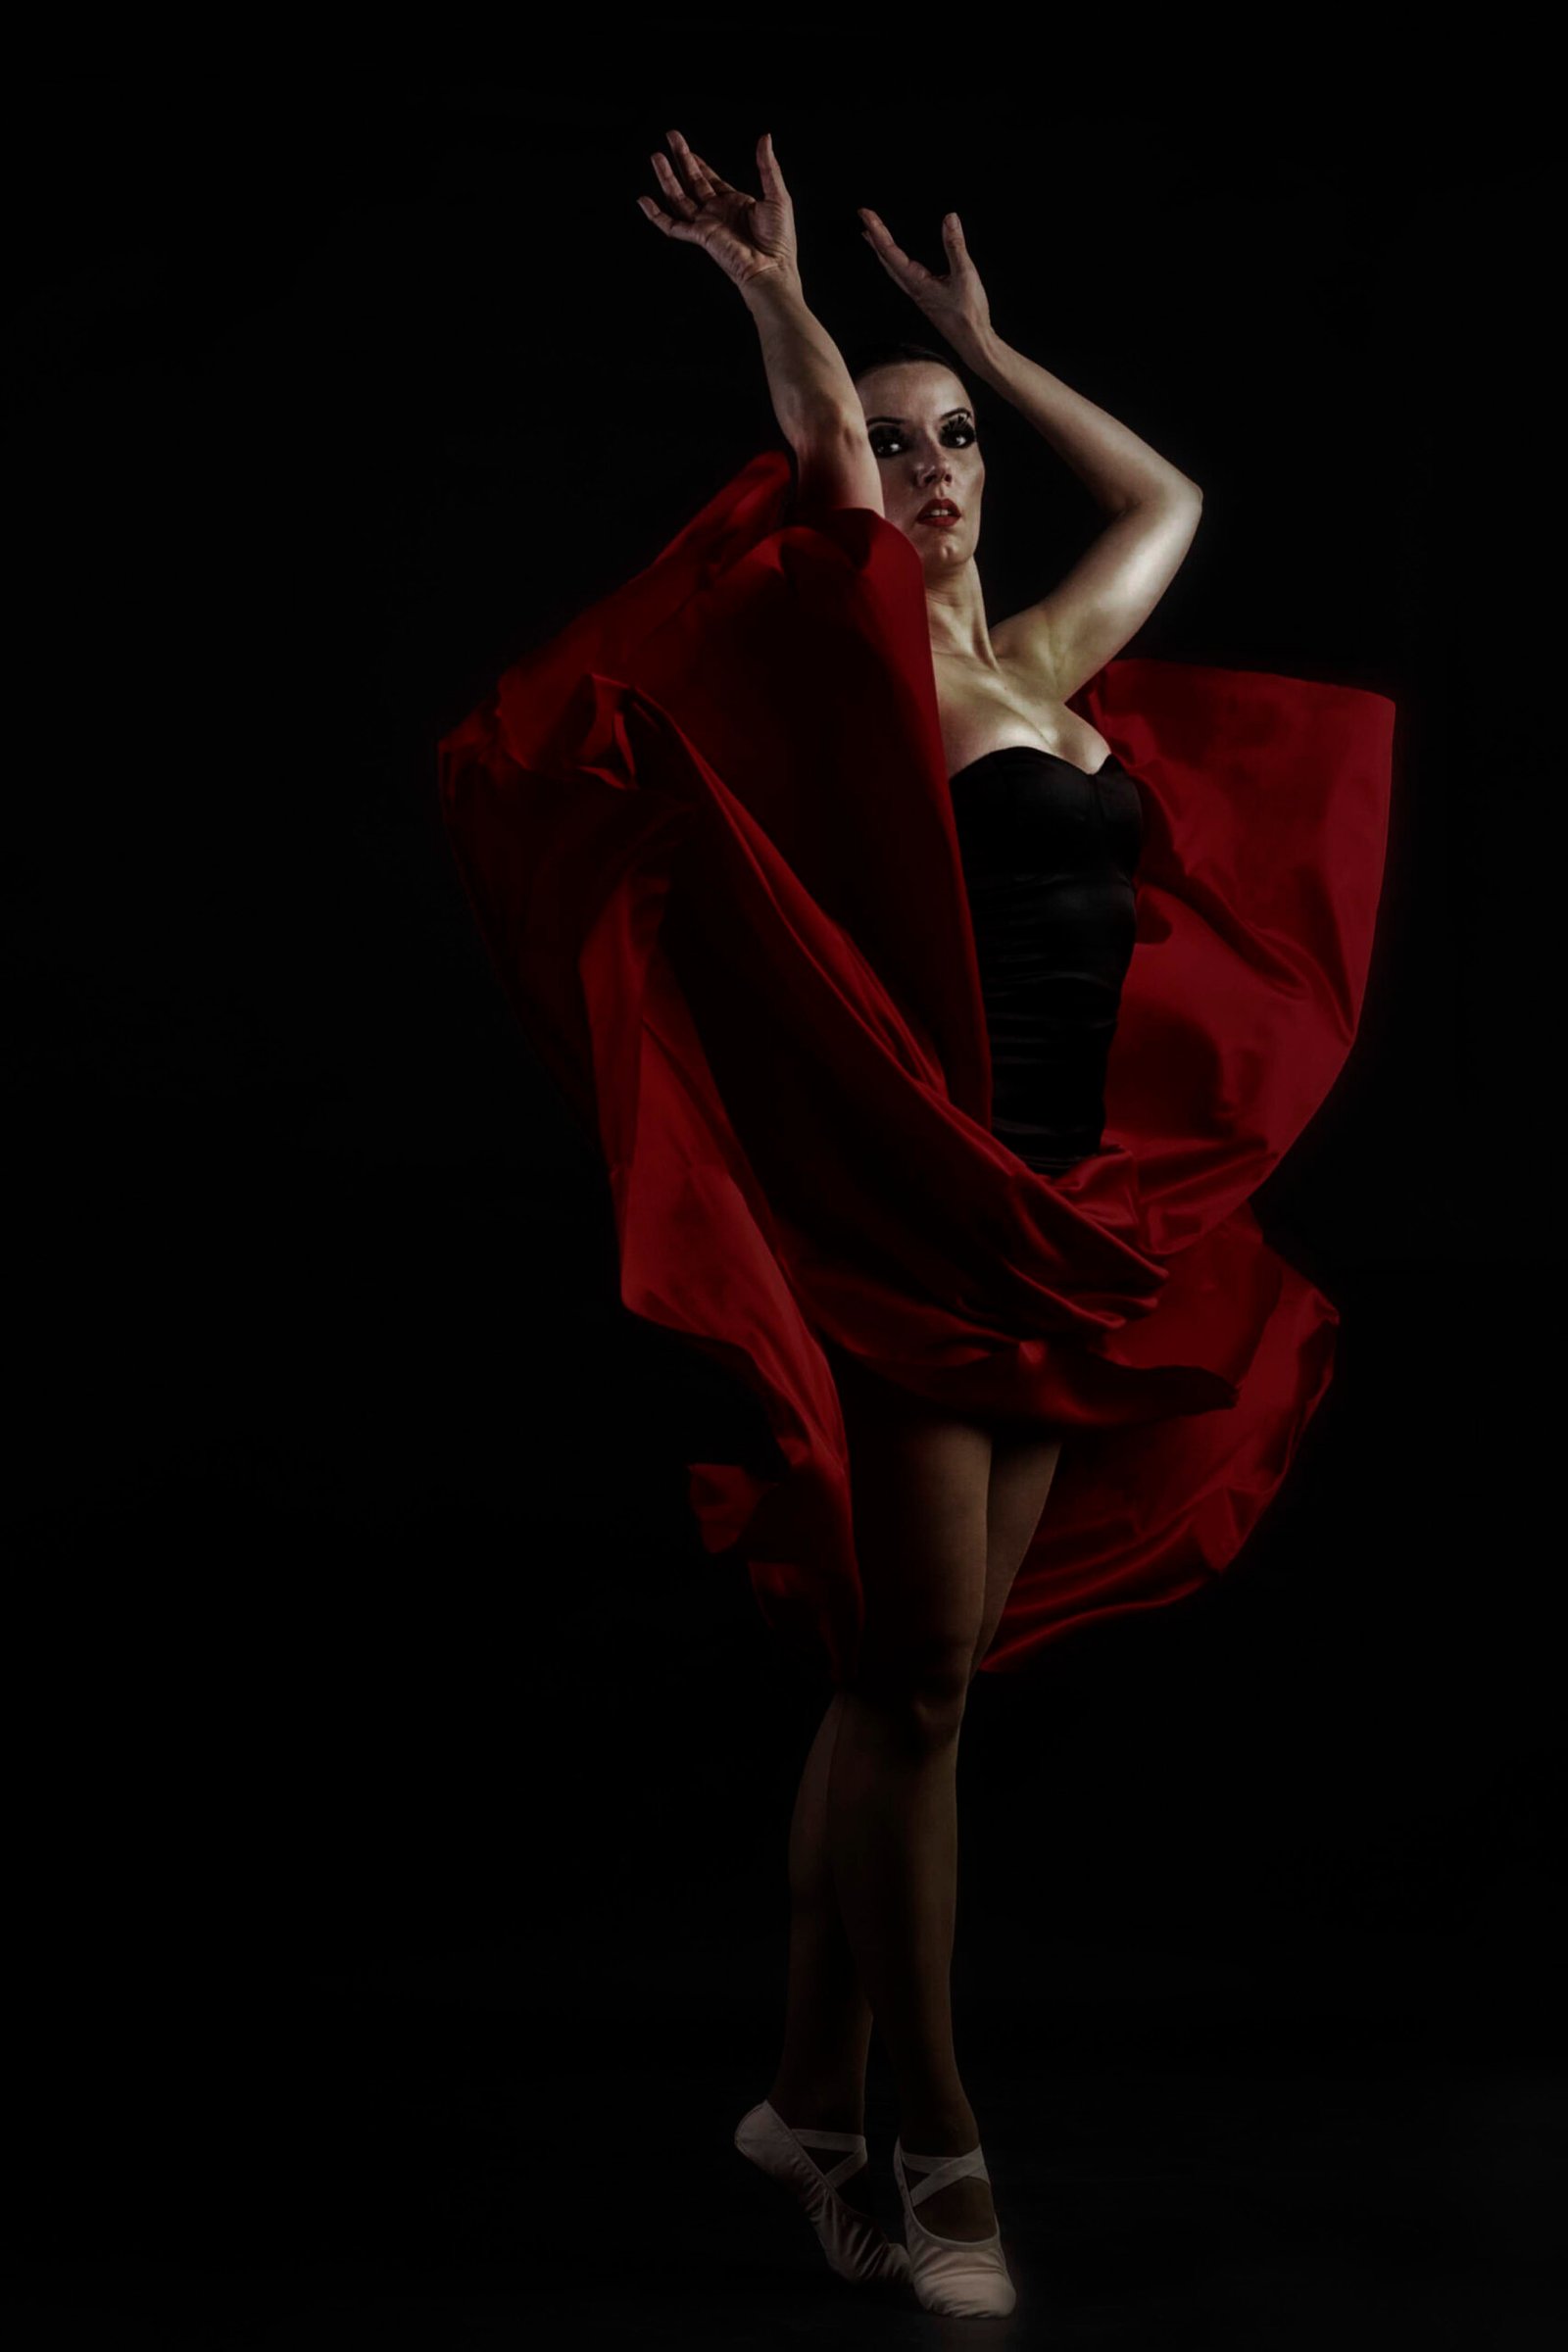
In this tutorial, you’ll learn how to give your photos a darker, cinematic look using Photoshop. This technique is simple but effective, perfect for portraits or scenes you want to dramatize.
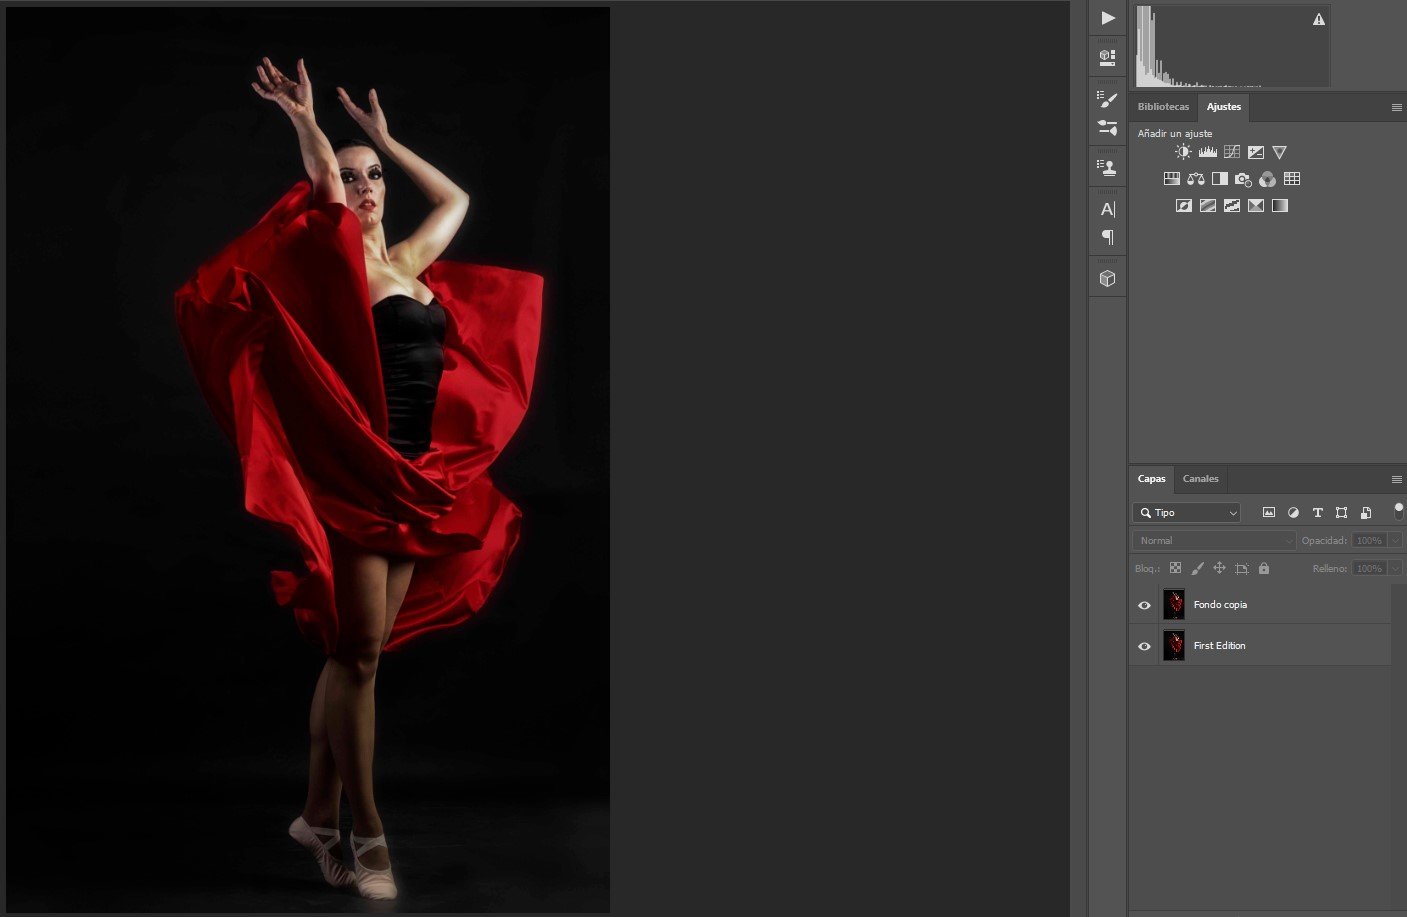
Step 1: Prepare the image
- Open your photo in Photoshop.
- Duplicate the background layer (
Ctrl+J/Cmd+J) to always keep a copy of the original.
Tip: Working on a duplicate layer prevents losing the original image in case you want to revert changes.
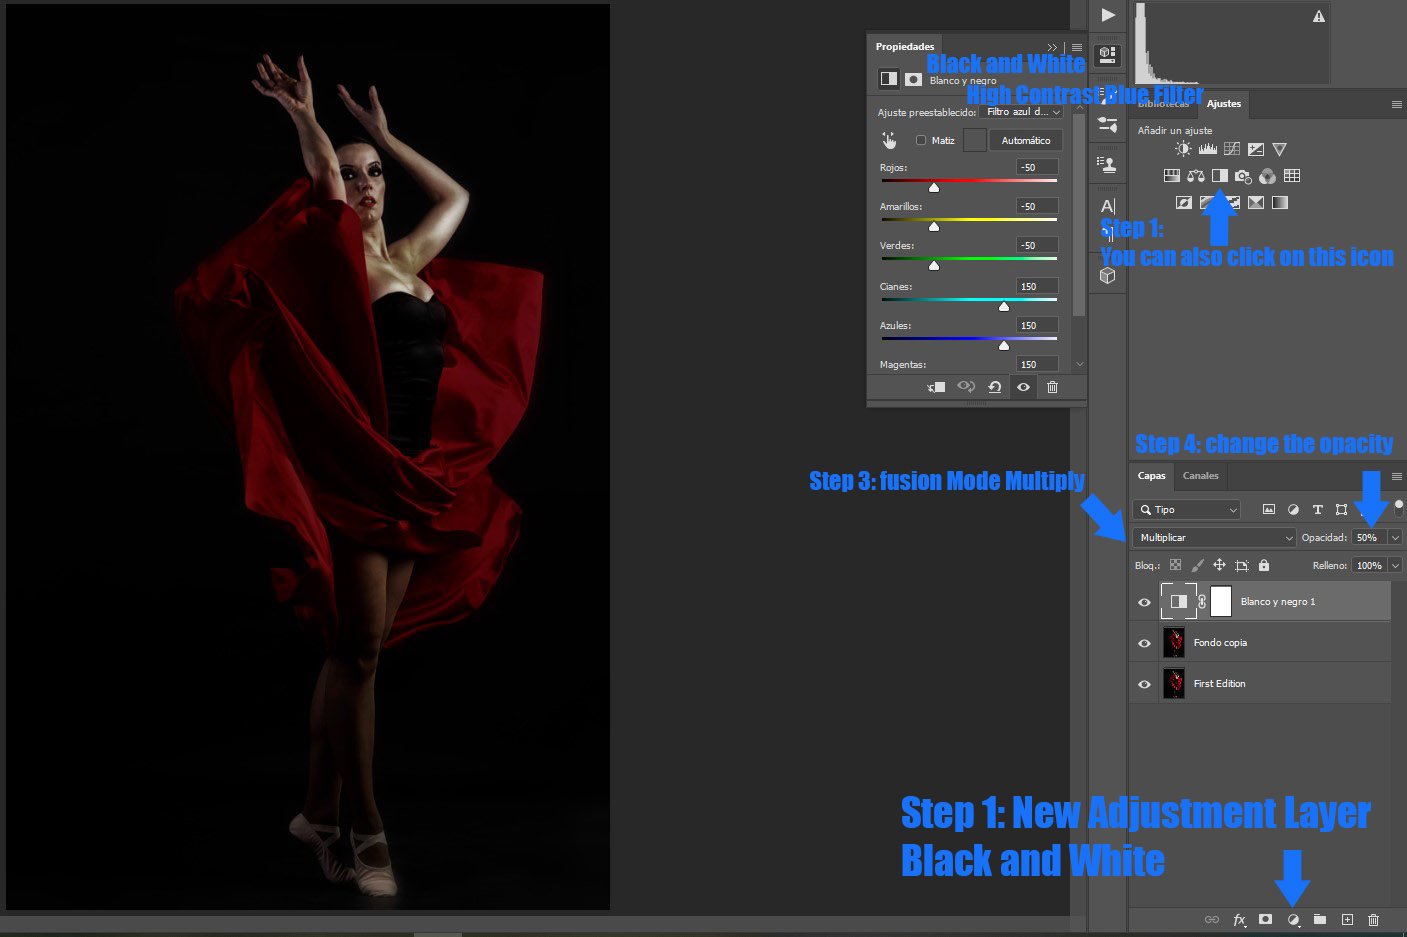
Step 2: Create a darker color effect
- Go to Layer → New Adjustment Layer → Black & White.
- In the adjustment options, select the preset: High Contrast Blue Filter.
- This preset increases overall contrast and adds a cool tone to the image.
- Change the blend mode of the adjustment layer to Multiply.
- Adjust the opacity until you achieve the desired intensity.
Note: Multiply darkens the image, integrating the adjustment layer with the base photo.
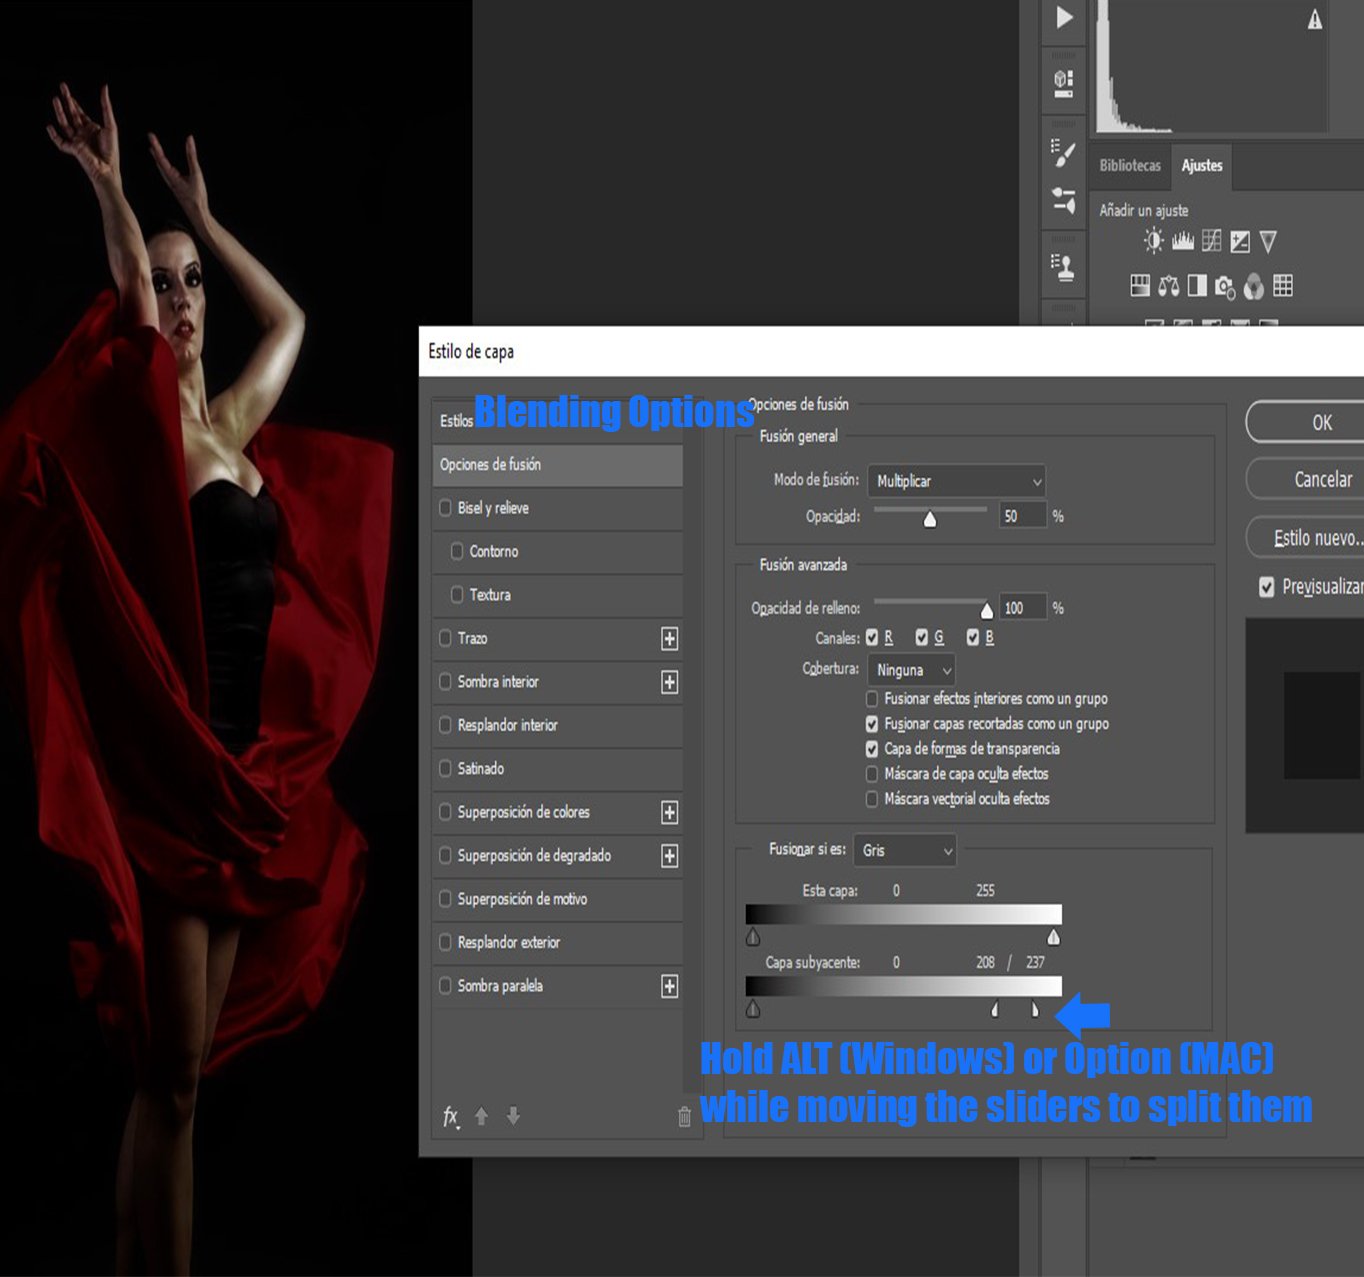
Step 3: Adjust layer interaction
- Right-click the adjustment layer → Blending Options.
- In the Underlying Layer section, move the sliders to control how the highlights of the base layer interact with your adjustment.
- This allows the brighter parts of the photo to remain visible while shadows get darker.
- Hold
ALT(Windows) /Option(Mac) while moving the sliders to split them. This allows you to control shadows and highlights separately.
Tip: Find a balance: too much blending can wash out the photo, too little can make it too dark.
Step 4: Final adjustments
- Review the image: you can add curves, saturation, or exposure adjustments to refine the effect.
- Save your image in the preferred format (
.PSDto keep editing,.JPGfor web or portfolio).
Result
- You’ll get a photo with a darker, more dramatic tone, while preserving important details in highlights and shadows.
- This technique works great for portraits, studio photography, and cinematic scenes.