In this tutorial, we’ll use AI as a creative tool to help designers visualize their work — turning a simple logo into a realistic product mockup.
Mockups are a powerful way to show clients how a design would look in real life. By doing this, you not only make your portfolio more attractive, but also increase your chances of selling your designs by helping potential buyers imagine the final result.
For this example, we’ll create a luxury perfume advertisement using AI-generated imagery and Photoshop.
Tools You’ll Need
- Sora AI (for generating the image or the one you prefer)
- Adobe Photoshop (for adding your logo or the one you prefer)
- Your finished logo design (here you have a tutorial)
Step 1: Define Your Concept and Style
Before generating anything, think about the mood and style you want to achieve.
Since we’re creating a luxury perfume ad, we’ll go for something elegant, with soft lighting and golden tones.
A clear concept helps the AI understand what you want, and descriptive prompts usually give better results.
Step 2: Write the Prompt
Here’s the prompt used for this project:
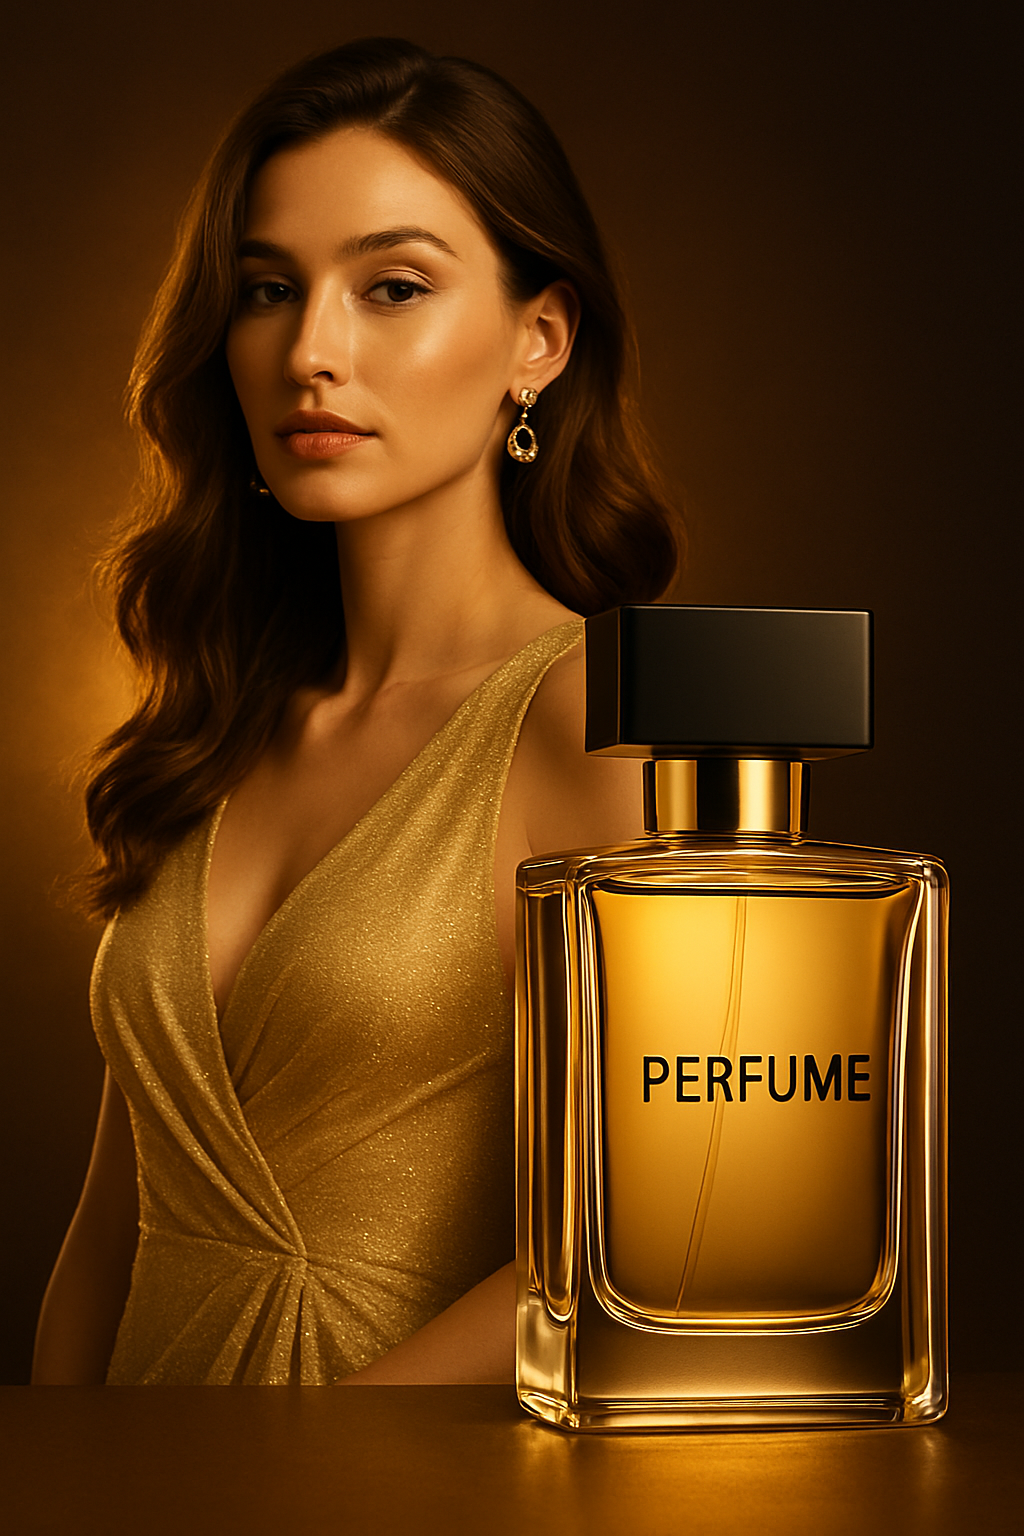
“An advertising photograph of a perfume, featuring a woman with long and wavy hair and earrings on her ears, wearing an elegant golden dress, standing next to the bottle of perfume. The lighting is warm, with a golden glow from behind, and the background is a dark brown. The focus is on the bottle of the perfume, in a minimalistic style with a modern design. The photography is high-resolution, with professional color grading, soft shadows, and a clean, sharp focus, with no excessive contrast.”
Type: Image
Ratio: 2:3
Note: In the case of SORA, you don’t include the “Type” or “Ratio” inside the prompt. You select them separately in the AI tool interface.
Step 3: Generate the Image with Sora
Once the image is generated, review the result carefully.
In this example, Sora added the word “PERFUME” directly on the bottle.
Since we’ll place our own logo there, we need to remove that text.
There are two options:
- Manual: erase the lettering later in Photoshop.
- Automated: ask the AI to fix it.
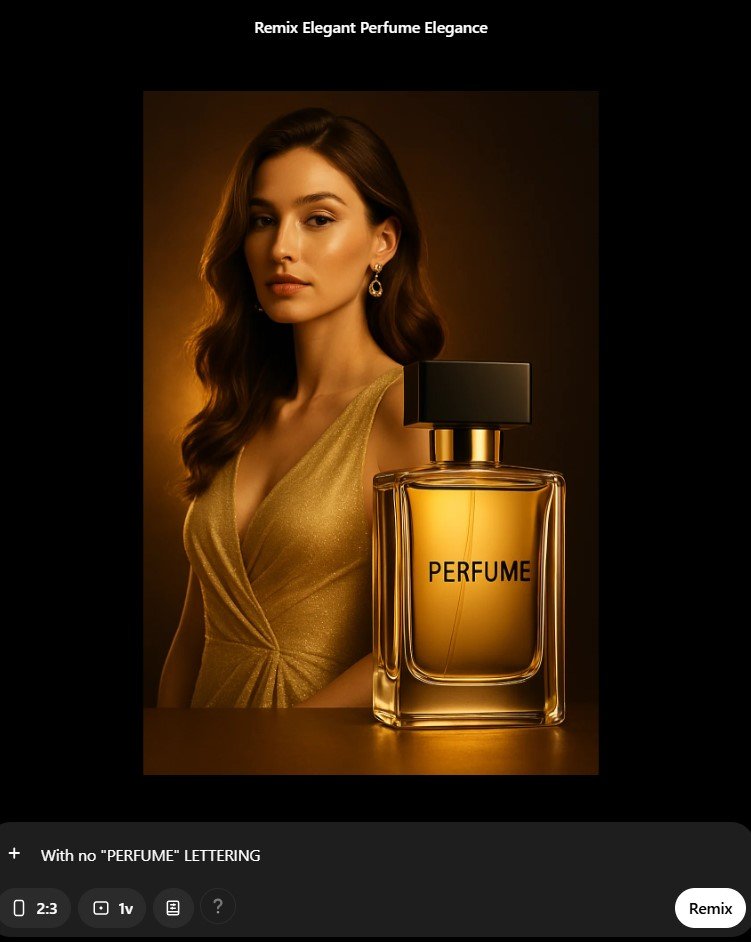
To save time and stay within the AI workflow, we’ll use the Remix function in Sora.
- Select the image.
- Click Remix.
- Add this prompt: “with no ‘PERFUME’ lettering”
- Choose to generate just one new version.
- Click Remix again.
Now we have a clean version of the image — perfect for our mockup.
Step 4: Add Your Logo in Photoshop
Now let’s integrate our logo into the generated image.
- Select the Area
- Use the Rectangular Marquee Tool to select the area where the logo should appear (for example, the front of the perfume bottle).
- Create a New Layer
- Create a new layer and rename it “Logo.”
- Go to Edit → Fill → White to fill the selection.
- Deselect the area (Ctrl+D / Cmd+D).
- Convert to Smart Object
- Right-click on the “Logo” layer → Convert to Smart Object.
- Reduce the layer’s opacity so you can see the bottle beneath.
- Use Ctrl+T / Cmd+T to transform and adjust the perspective.
- Holding Ctrl lets you move anchor points individually for a more realistic fit.
- If needed, use Warp mode to adapt the shape to the bottle’s volume.
- Change the layer’s Blending Mode to Multiply.
4. Insert Your Logo
- Double-click the “Logo” layer thumbnail to open the Smart Object.
- Go to File → Place Embedded and import your logo file.
- Adjust the size and position, then save and close the Smart Object.
Your logo now appears perfectly aligned on the perfume bottle inside your scene!